
Easy Homemade Puff Pastry: How to Make It, Store It & Use it Anytime
An encouraging beginners guide from a rustic perspective
For as long as I can remember making easy homemade puff pastry was a myth. For years, I studied my Dad’s copy of Julia Child’s Mastering the Art of French Cooking, that also sits on my counter in my cozy corner, full of detailed instructions for traditional puff pastry—the real deal with butter blocks, folds, and resting times that made it all seem untouchable. No wonder people believed “storebought is fine”.
Recently, I discovered Molly Wilkinson’s approach to easy homemade puff pastry in French Pastry for Beginners. Her “simple puff pastry” method, which heroically doesn’t require a butter block, completely changed my perspective. Suddenly, homemade puff pastry felt doable, approachable, and even a little fun. Between Julia’s classic method and Molly’s simplified version, I found the confidence to make puff pastry a part of my everyday kitchen life.
I get it. Puff pastry feels impossible, and you might be saying “neverrrr” under your breath. But if I can make it in a busy home kitchen, feeding five people (plus scraps for my 20-ish chickens!), so can you. I’m a rustic, creative baker, so my instructions won’t be perfectly technical like Julia Child’s—but they’ll get you there. My best tip is to read this guide, then check out Molly Wilkinson’s French Pastry for Beginners to really see how doable it can be.
Whether you want a sweet tart, some savory bites, or dough ready for a cozy afternoon treat, this guide will show you the process from start to finish—and even how to freeze it so you can use it anytime.
What is the secret to baking puff pastry?
Please allow me assure you that there are only a few “secrets” to homemade puff pastry one needs to know! If your grandmother taught you how to make a pie dough, you can certainly make puff pastry. I’ll elaborate more below, but here are the essential secrets:
First, the flour to butter ratio is always equal when making puff pastry. Second, coldness is puff pastry’s best friend. Lastly, folding and resting is puff pastry’s favorite dance. There are some rules to remember, but of all of them don’t get caught up in the folding process (I mess up all of the time on my number of folds) and just focused on the resting and cold nature of puff pastry dough..
Ingredients for homemade puff pastry
Ingredients for making puff pastry are as simple as it gets: flour, butter, salt & cold water…and time!
Remember: equal parts butter and flour, a few pinches of salt and cold water to bind dough into a pie-dough like texture…and that’s your recipe!
A note on wholegrain flours: I’ve experimented with using some wholegrain flours and they’ll usually require 2-3 extra tablespoons of water and I found this to be true in puff pastry as well. If using whole grains in puff pastry, I suggest trying 30% whole grain and 70% all purpose flour..but I still keep in mind the equal ratios of flour and butter.
Rules to remember when making puff pastry at home
Keep the dough cold at all times—this is what creates flaky layers and remember butter responds to a warm kitchen and body heat, so act accordingly and avoid over-handling. You can return the dough to the fridge if the butter ever begins to soften.
Once initially mixed, complete your folds within two days. Puff pastry benefits from steady progress and proper rest.
There are four main folding actions: one letter fold, followed by one book fold, then another two letters, resting the dough in the refrigerator for anywhere from 30 to 60 minutes between each. After the final rest, roll the dough out and shape as needed or stored in the freezer.
That’s it. Cold dough, simple folds, and patience.
Making Homemade Puff Pastry
Mix the dough
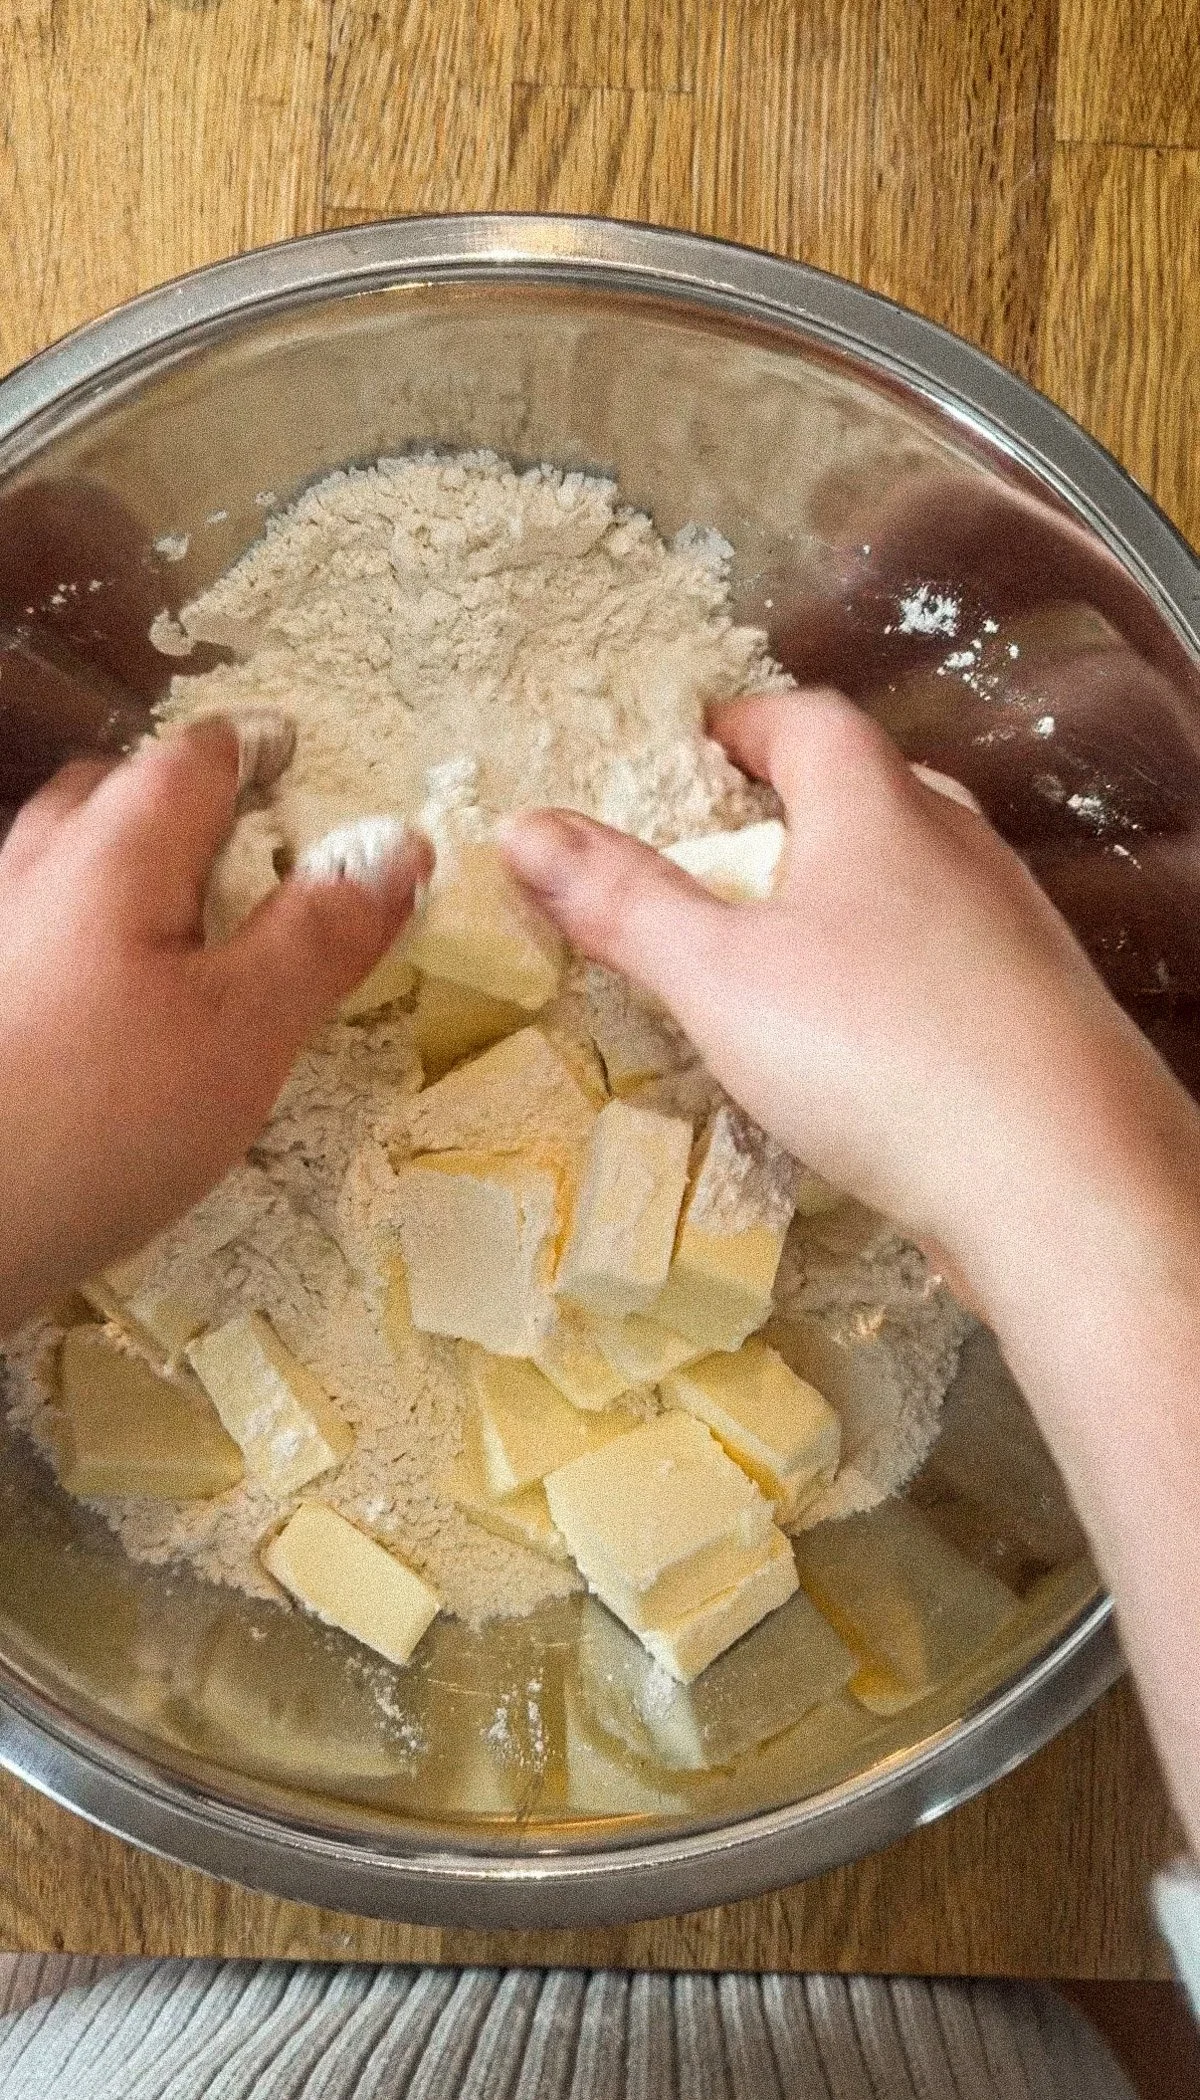
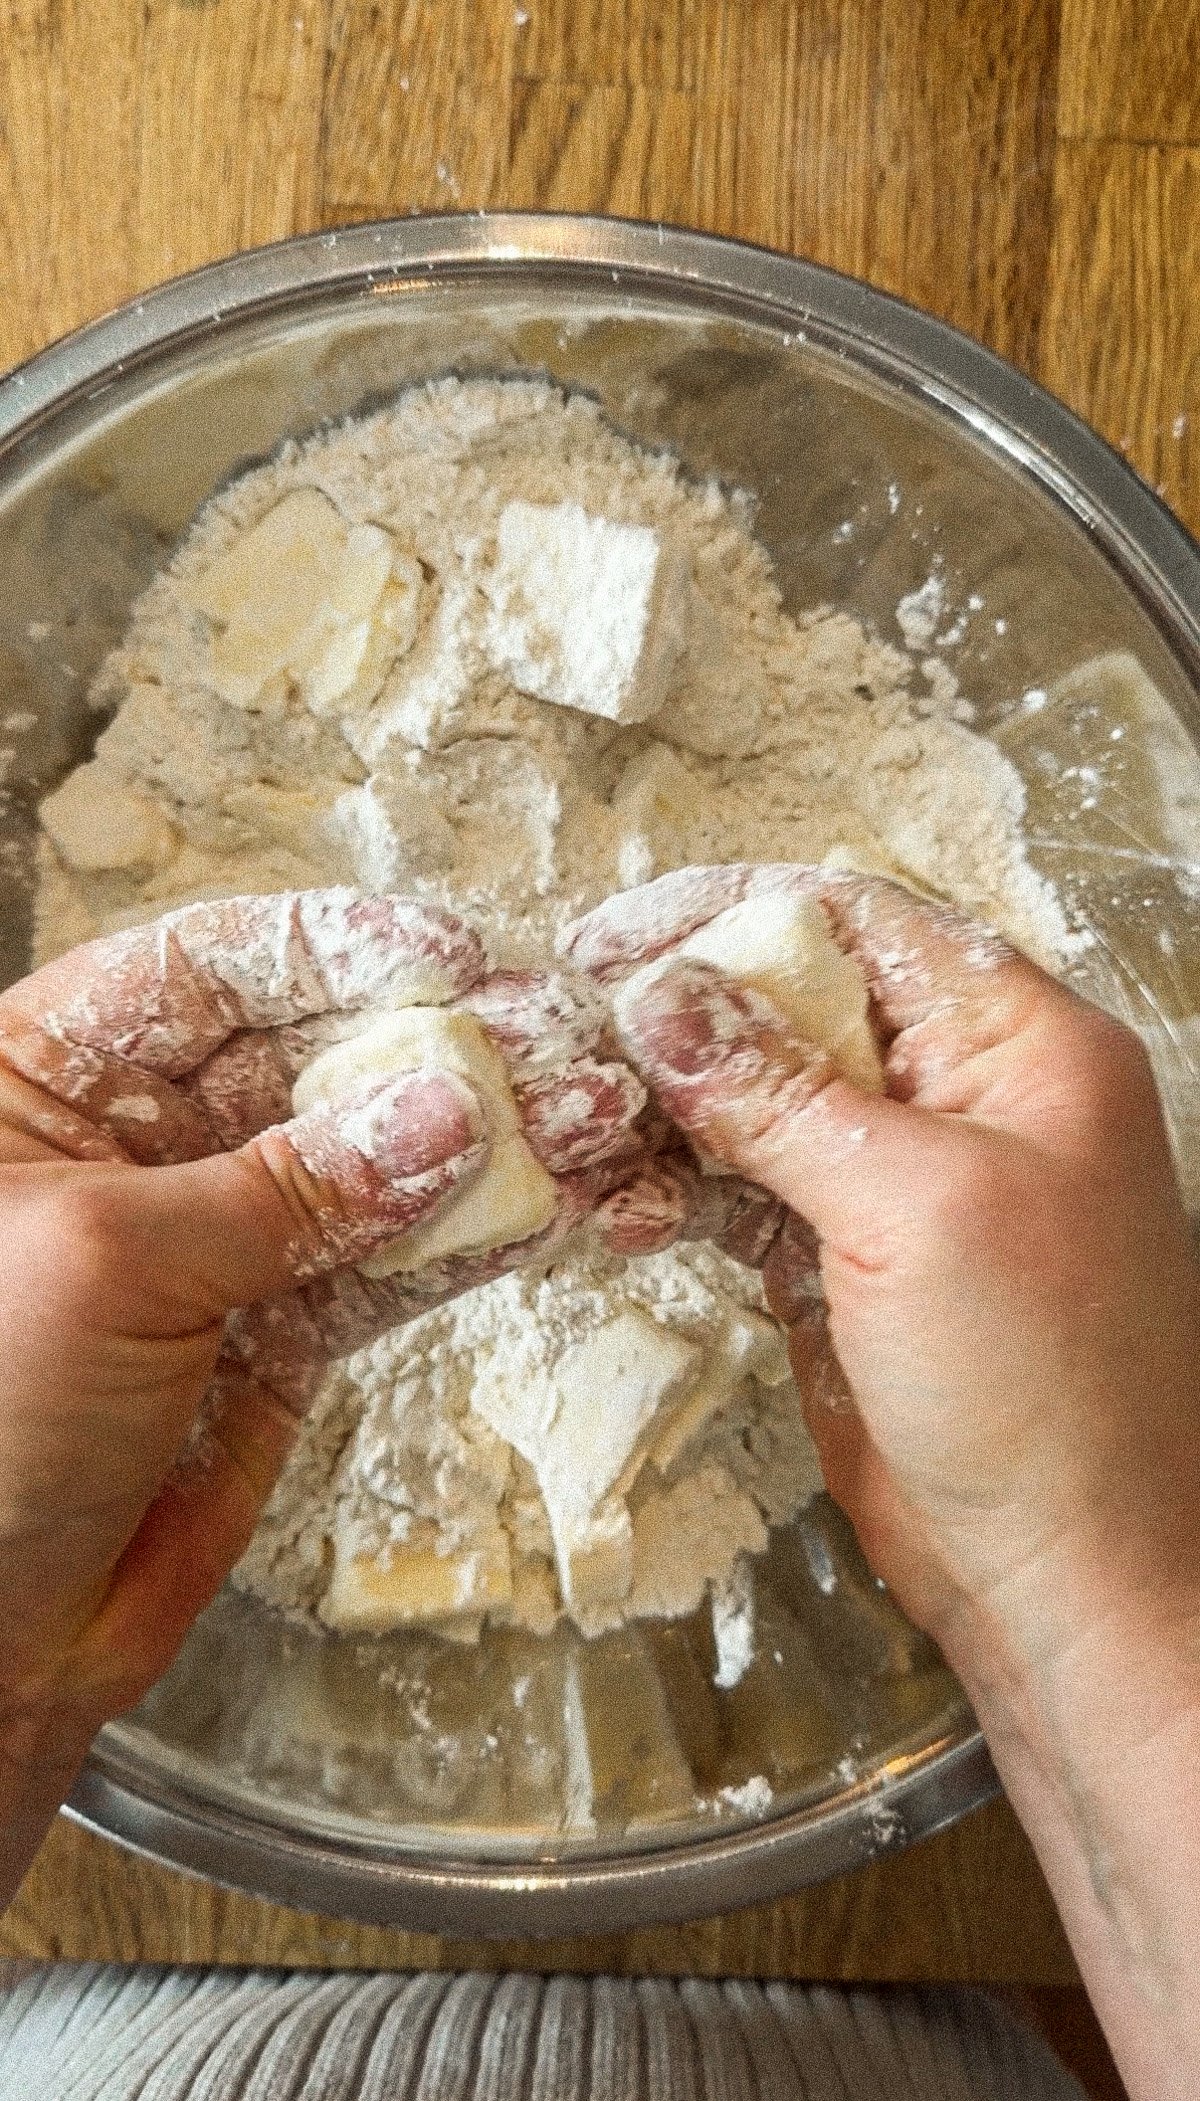
Start with very cold, thick cubes of butter and toss them in the flour until fully coated. Gently press each cube so it flattens slightly—don’t worry if the butter cracks or crumbles. Toss again, then add cold ice water a little at a time, gently tossing and squeezing until the dough just comes together. It will look a little smoother than shaggy.
Rest the dough
Shape the dough into a ball, flatten it into a disc, wrap tightly in plastic, and rest in the refrigerator. Don’t let the dough sit like this for more than two days, or it may become difficult to roll.
First Fold
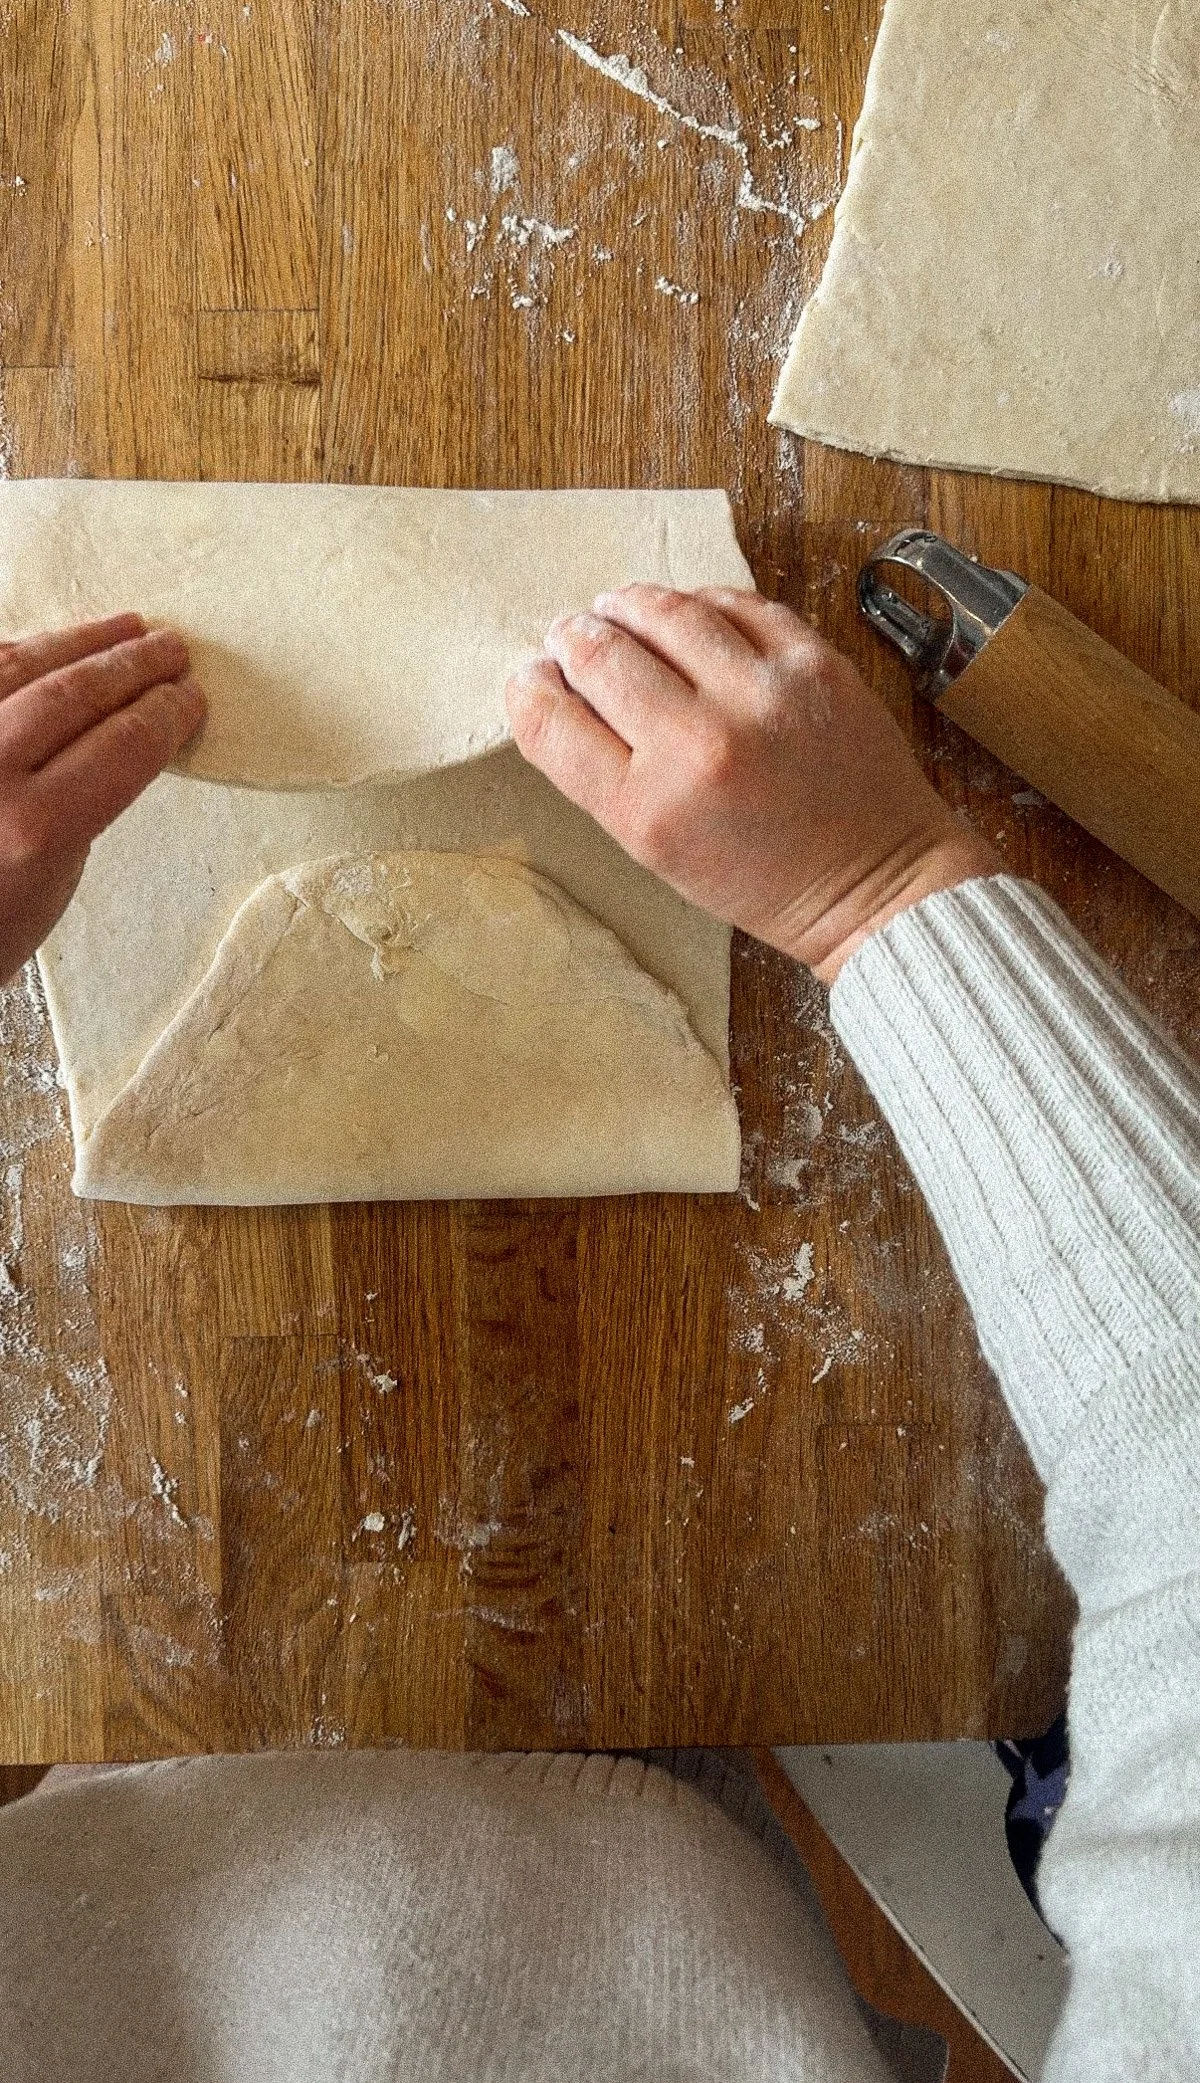
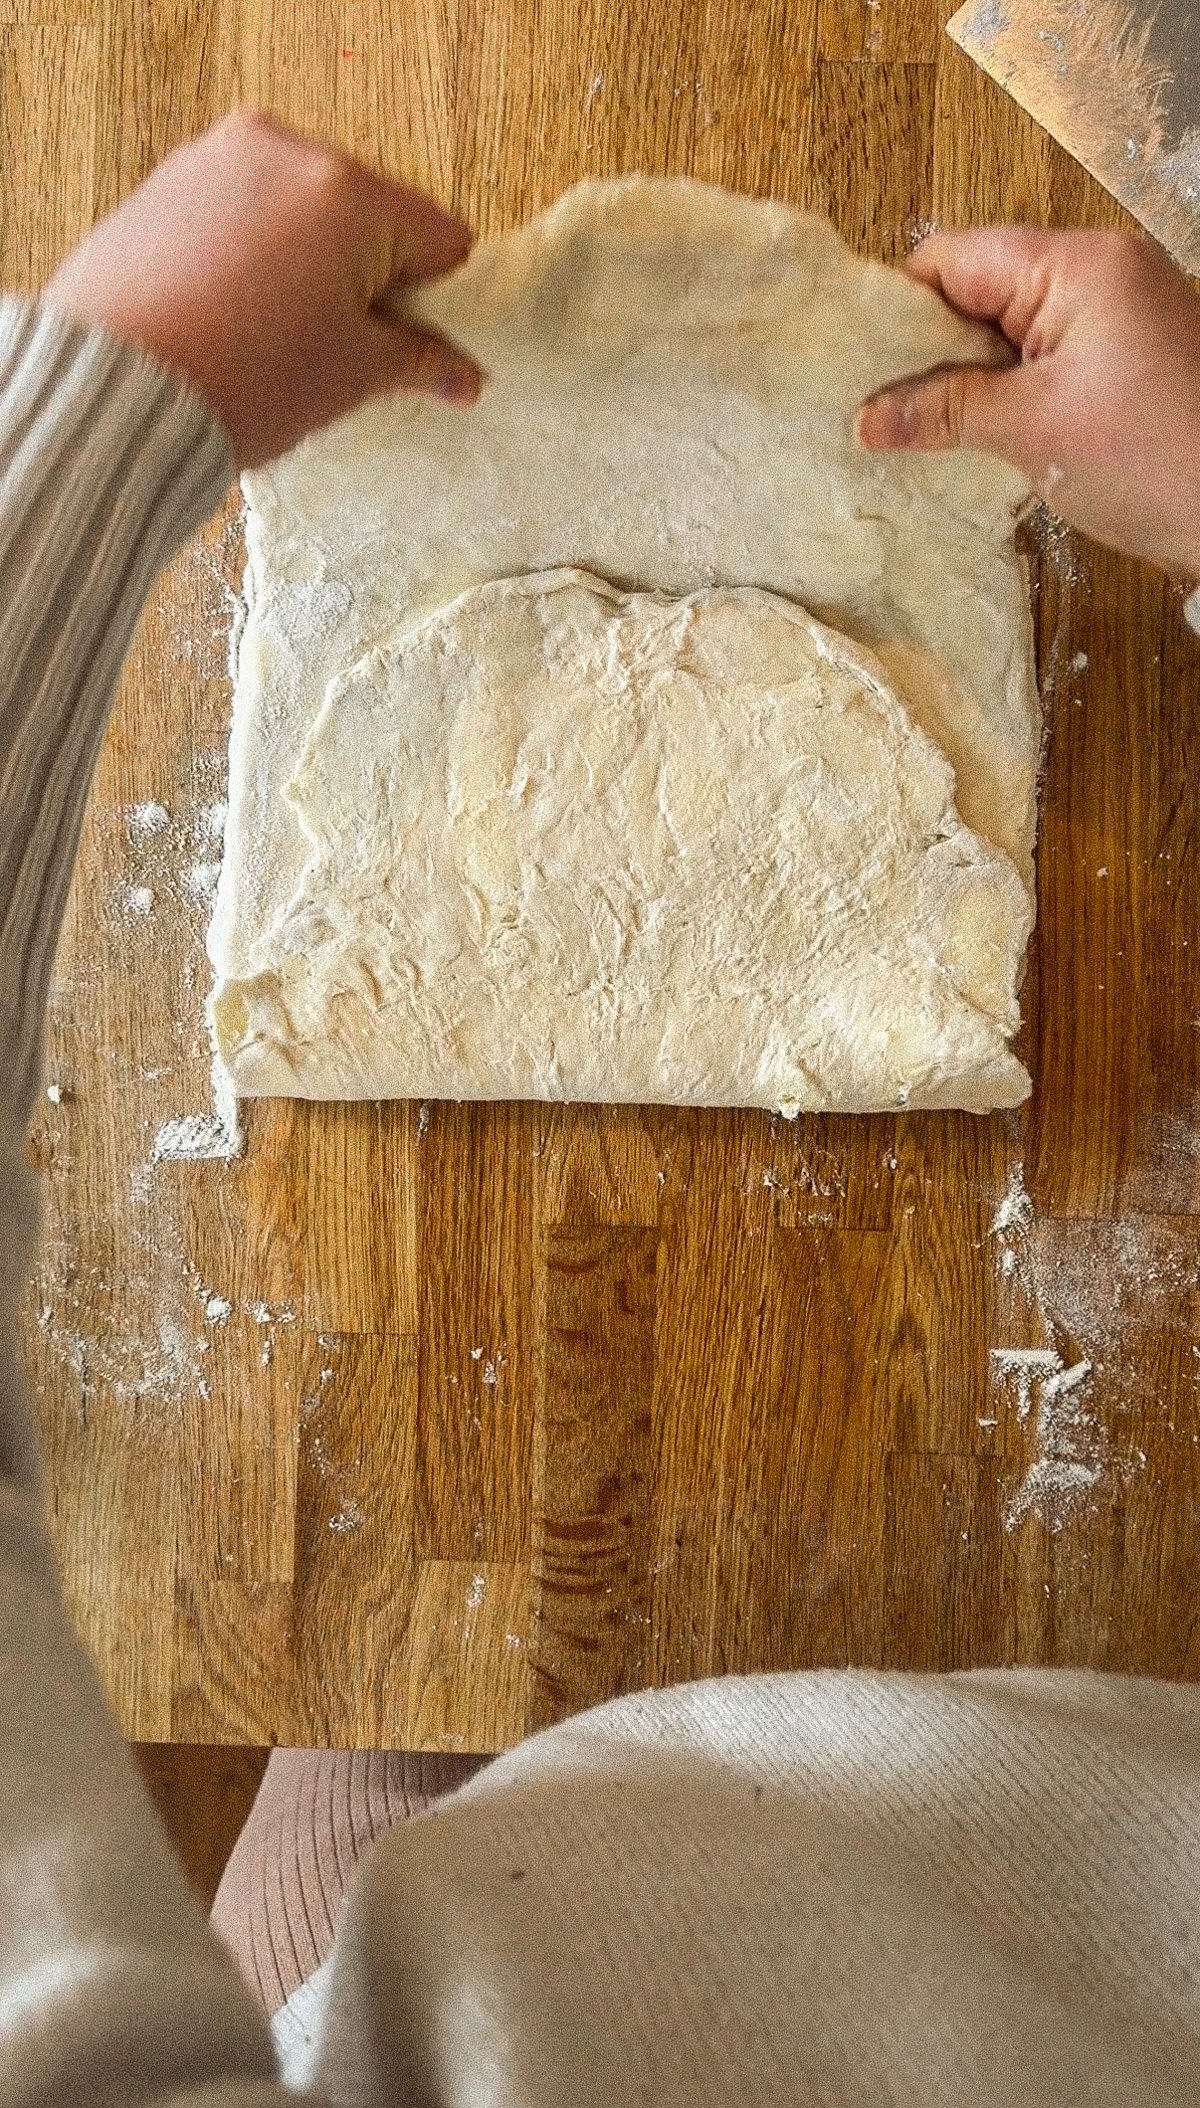
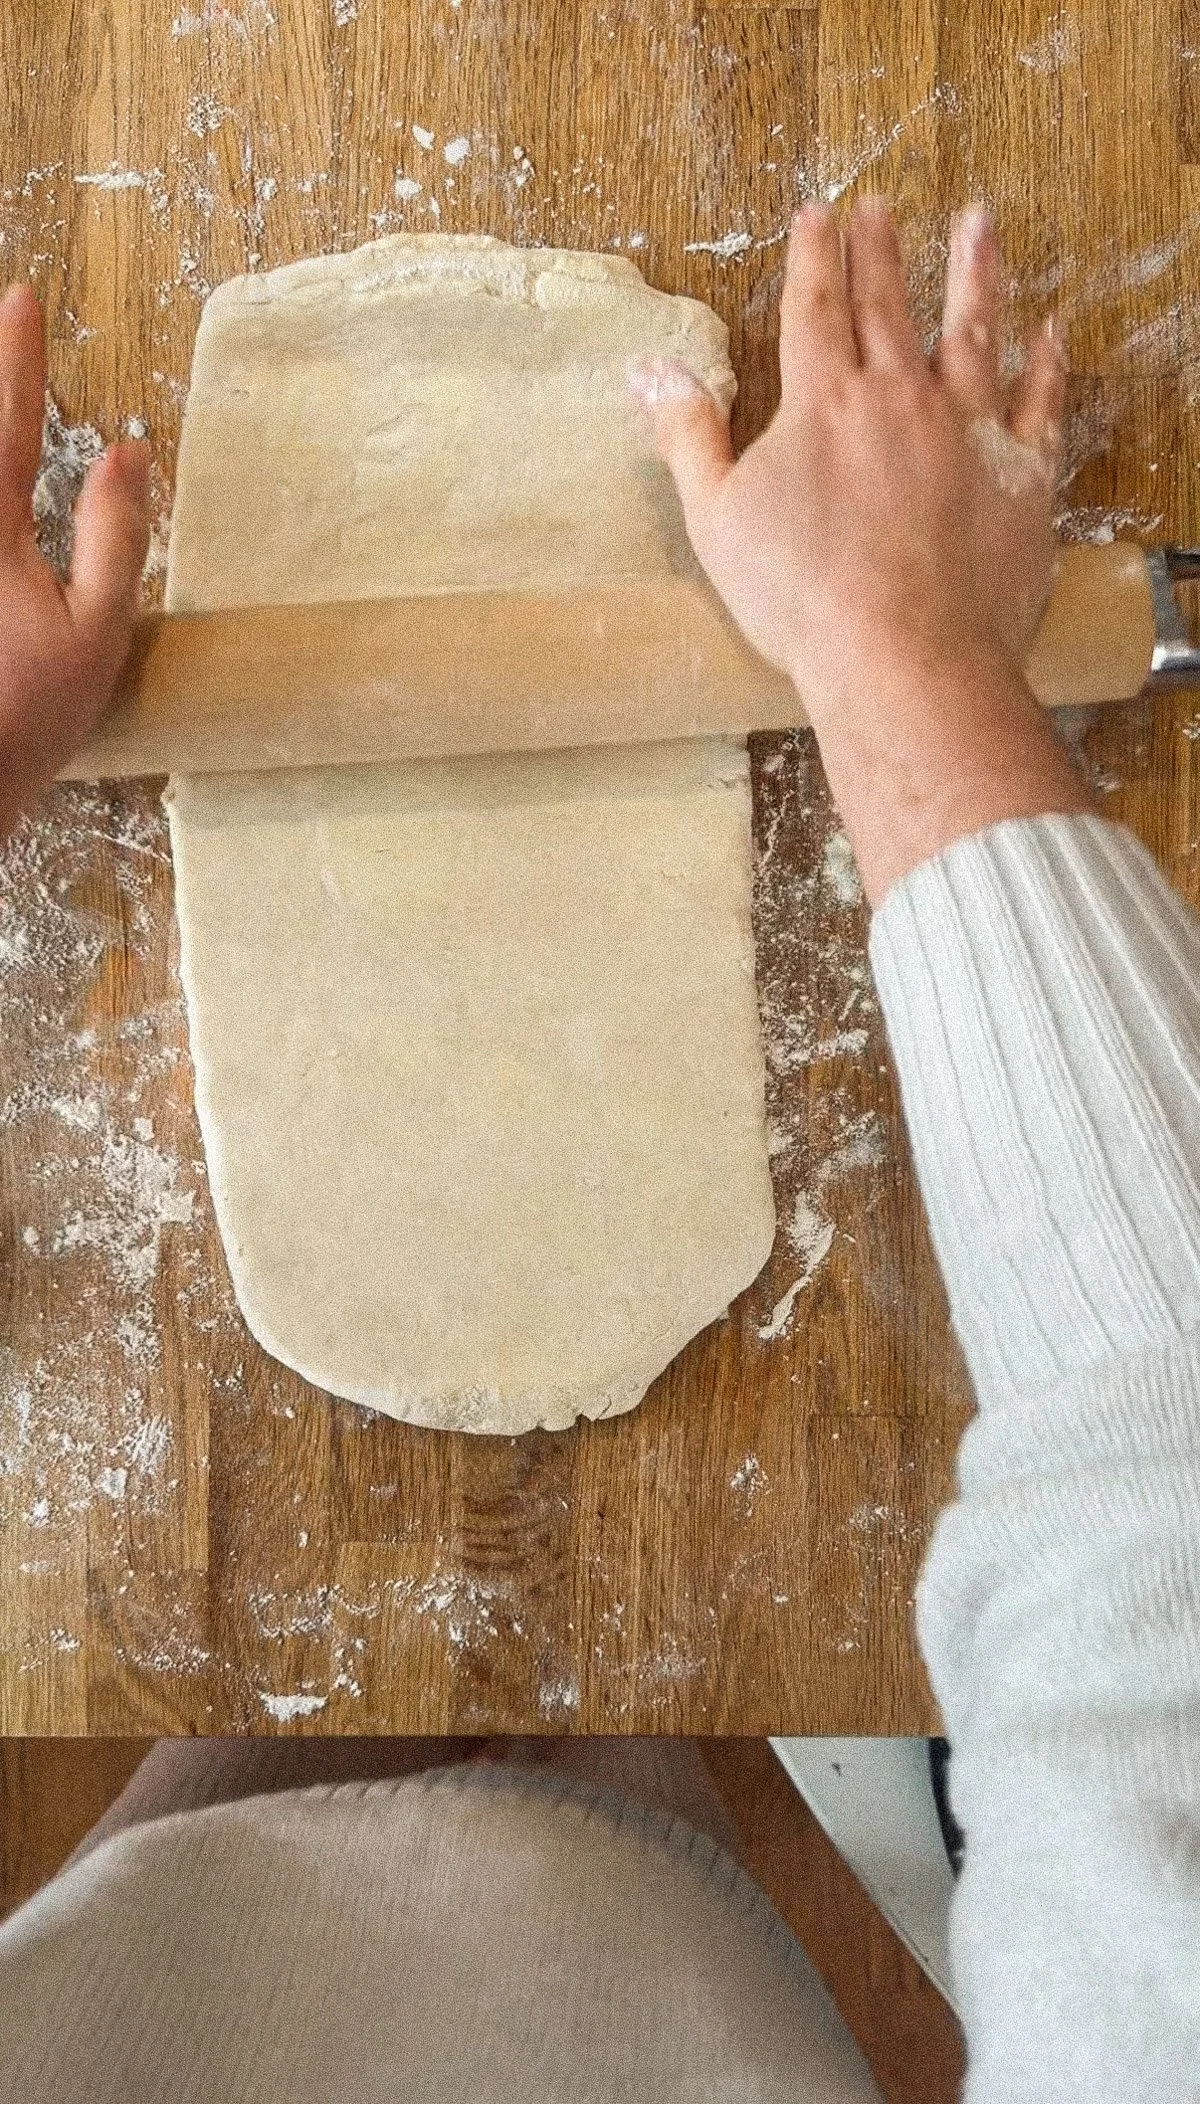
Roll the chilled dough into a long rectangle about 6–8 inches wide, 16–20 inches long, and less than ½ inch thick. Fold one third of the dough over itself like a letter. Wrap and rest in the refrigerator for 30-60 minutes.
Second Fold
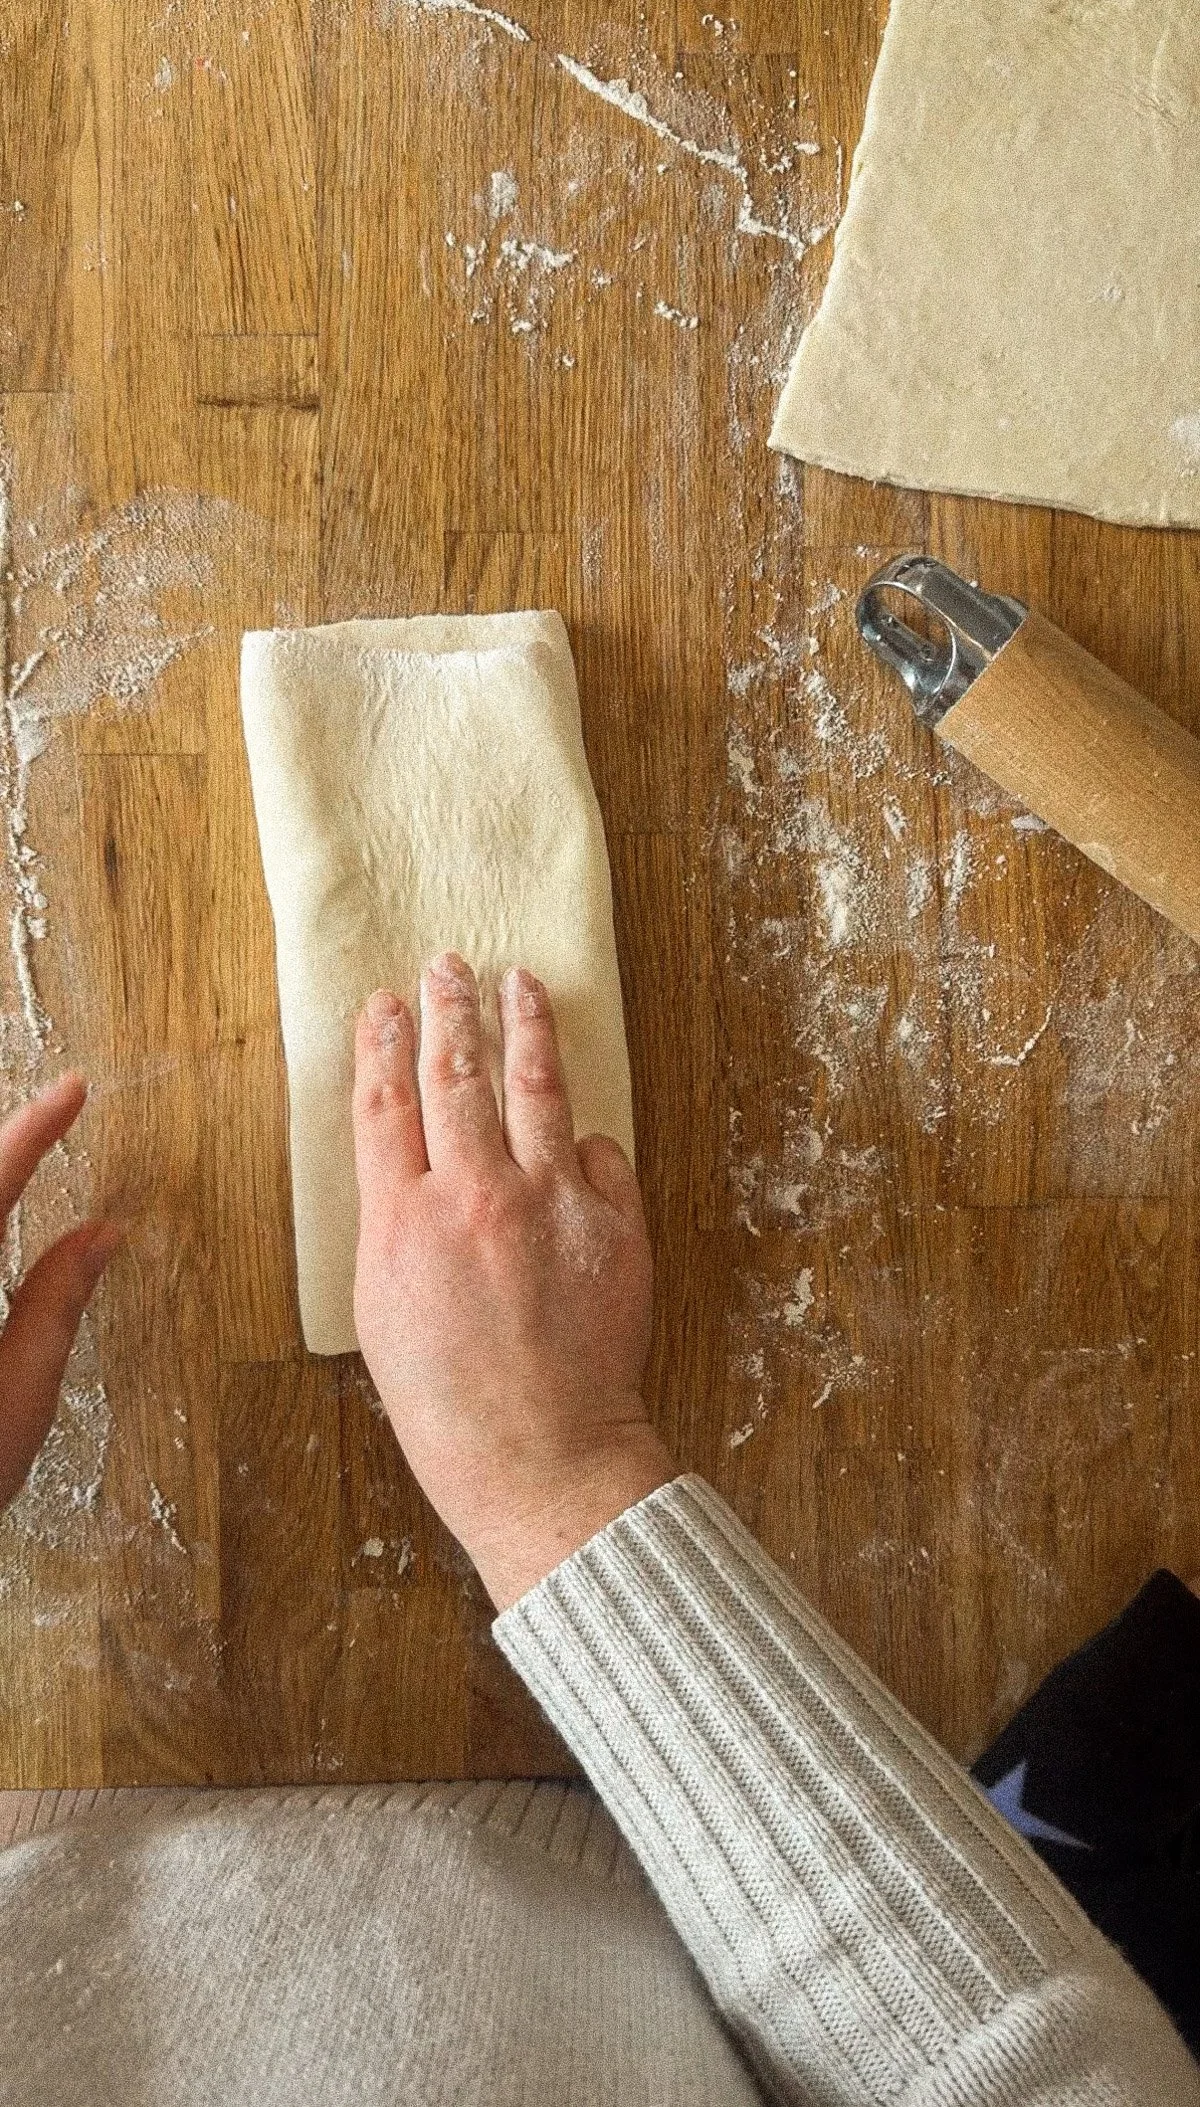
Roll the dough out again to the same size, keeping the folded layers facing you. Fold the top and bottom halves inward to meet at the center, then fold the dough in half like a book. Wrap and rest in the refrigerator.
Third Fold
Like the first fold, roll the chilled dough into a long rectangle about 6–8 inches wide, 16–20 inches long, and less than ½ inch thick. Fold one third of the dough over itself like a letter. Wrap and rest in the refrigerator for 30-60 minutes.
Final Fold
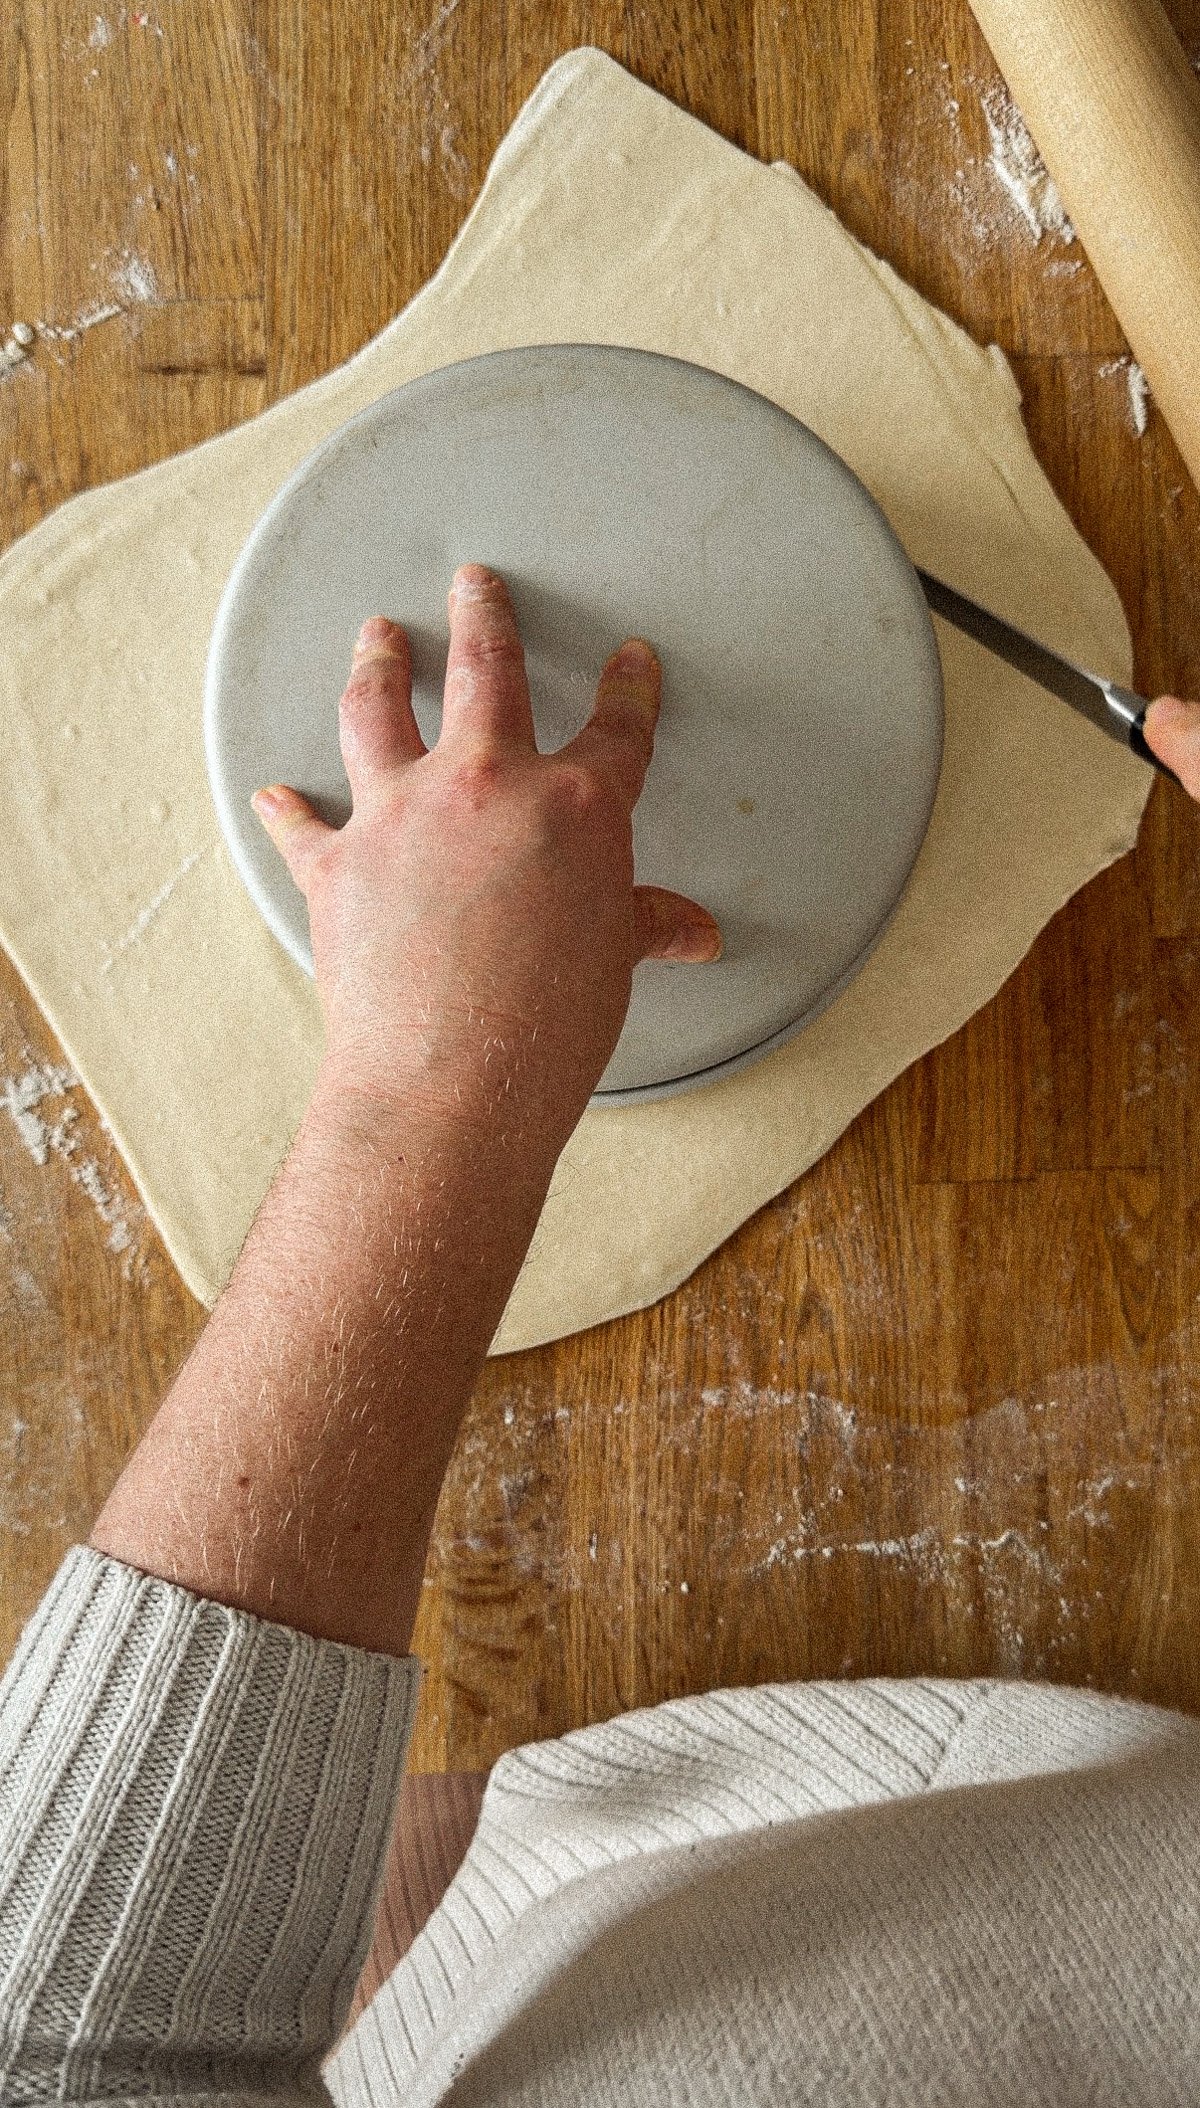
After the third rest, repeat the same letter fold one more time. Wrap and rest the dough until cold and firm. You can shape from here, or store it for later.
Storing Homemade Puff Pastry
If you plan to freeze puff pastry, the best time to do so is after the fourth fold. At this stage, the butter has been evenly distributed into thin layers, which helps prevent large clumps of butter from sticking together once frozen. Wrap the dough tightly in plastic, then place it in a freezer-safe bag. Frozen at this point, puff pastry is easier to thaw, roll, and shape later, and it will bake with better lift and more even layers. When ready to use, thaw the dough overnight in the refrigerator before rolling and shaping.
Final Thoughts
Baking puff pastry at home doesn’t need to be perfect, but it does reward patience, cold hands, and careful folds. Follow the rhythm of rolling, folding, and resting, and trust the dough along the way. Remember to freeze after the fourth fold if you want to save it for later, and enjoy the process without pressure—each step is part of creating something special. You don’t need a holiday, a dinner party, or a special occasion to make beautiful food; your ordinary day is reason enough. Take a deep breath, roll the dough, fold it, rest it, and know that even if it’s not perfect, it will still be delicious—and that’s what makes homemade puff pastry so rewarding.

Hope you enjoy this! Many of the links in my posts—or found here on ShopMy—may provide me with a small commission and can also lead to sponsorship opportunities. You can also support my work by buying me a coffee. Know your presence and support is received with so much gratitude.