As a busy mom of three young kids, I can tell you from experience that these Mummy Madeleines might just be your Hail Mary a couple of hours before a school party. They certainly were for me this very morning!
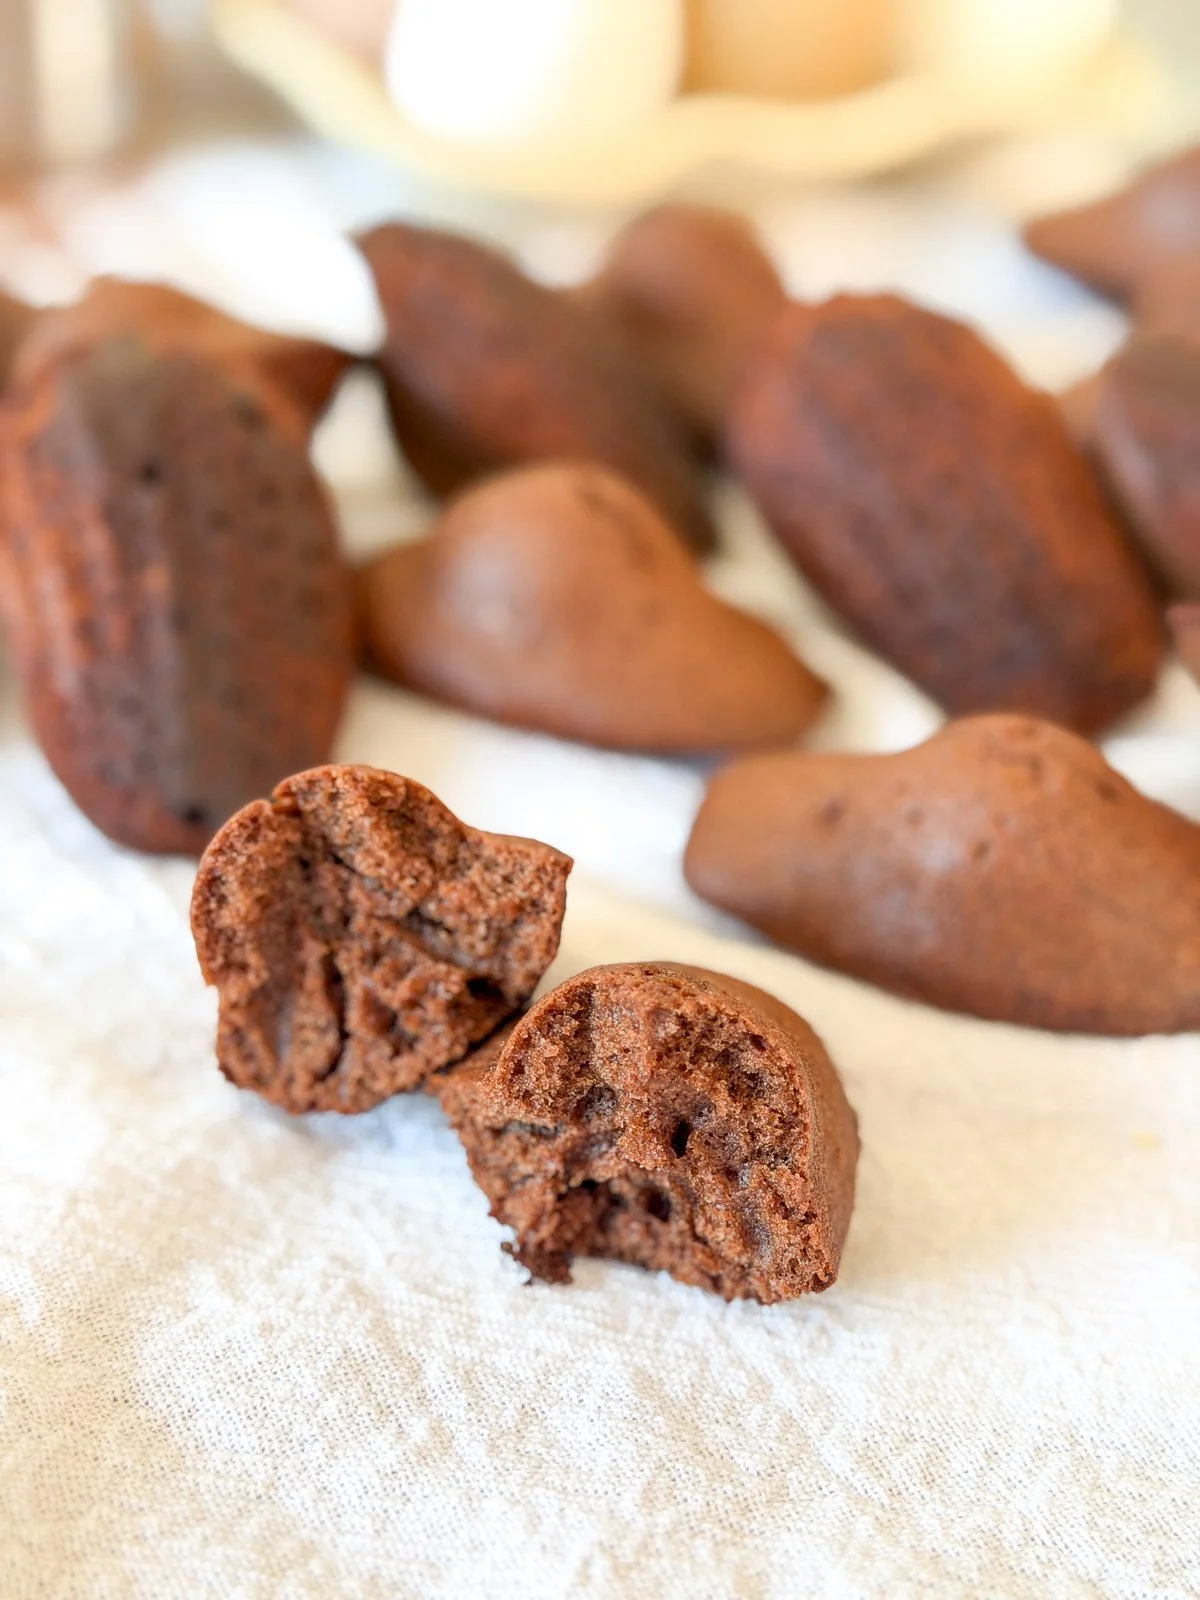
As you know, chocolate madeleines are pretty easy to whip up. Ideally, you’ll make the batter the night before, bake them in the morning, and then decorate. But if you suddenly realize you signed up to bring a sweet treat just hours before the school bell rings, I promise these come together in a flash. You can have the batter mixed while you're serving breakfast and melt the chocolate while the madeleines cool.
Don't have candy eyeballs? Chocolate chips will do the trick!
I'm hoping this recipe finds its way to you at just the right moment. And I have to say, they're SO cute. Finishing this batch this morning honestly turned my whole day around.
Ingredients for these Chocolate Mummy Madeleines
Makes about 30 madeleines
Chocolate Madeleine Ingredients
½ cup + 2 Tbsp unsalted butter, melted & cooled
¼ cup neutral oil
½ cup brown sugar
¼ cup milk
1¼ cups all-purpose flour
¼ cup cocoa powder
1½ tsp baking powder
2 Tbsp honey
½ tsp salt
3 eggs
1½ tsp vanilla extract
Decoration Ingredients
¾ Cup White Chocolate Chips
decorative eyeballs
How to make Mummy Madeleines
Make the Madeleines
Whisk together the brown sugar, eggs, salt, honey and neutral oil in a large bowl until pale and lightly foamy. Whisk in the milk and vanilla extract until smooth.
In a separate bowl, sift together the flour, cocoa powder, and baking powder. (Sifting is especially important here, as cocoa powder tends to clump.) Gently fold the dry ingredients into the wet ingredients just until incorporated.
Add the melted butter, stirring until the batter is smooth and fully emulsified. Cover and refrigerate the batter for at least 30 minutes, or up to 1 day for deeper flavor and a more tender crumb.
When ready to bake, remove the batter from the fridge and preheat the oven to 375°F.
Generously butter a madeleine pan and dust with sifted cocoa powder (or flour), tapping out any excess. Pipe or scoop the chilled batter into the prepared molds, filling each about two-thirds to three-quarters full. Place the filled pan in the freezer for 5 minutes.
Bake the madeleines at 375°F for 6 minutes, then reduce the oven temperature to 360°F and continue baking for 5-6 minutes more, until the madeleines are puffed, set in the center, and spring back lightly when pressed. Let cool in the pan for 1 minute before turning out onto a wire rack.
Decorate the Mummy Madeleines
In a heatproof bowl or ramekin, microwave the white chocolate chips in 30-second increments, stirring between each, until completely melted. Transfer to a piping bag or zip-top bag and snip a small opening in the corner (the smaller the opening, the finer the lines). Gently squeeze the chocolate in a sweeping motion from right to left to create your desired design. Add the eyeballs wherever you like—the more misplaced, the better! Refrigerate for 5 minutes, or until the chocolate has set.
Enjoy!
Baker’s Notes
Sharing
If you’re bringing these to a party, I like to use food container options like this or this (both fit about 12 madeleines).
Storage
Store in an airtight container for 3 days! If you’d like, you can freeze them undecorated and thaw in the fridge overnight.
Equipment
I love using these Madeleine pans
Chances are, you might already have everything you need to bake—but just in case, you can check out all my favorite baking essentials here in my ShopMy.
Hope you enjoy this! Many of the links in my posts—or found here on ShopMy—may provide me with a small commission and can also lead to sponsorship opportunities. You can also support my work by buying me a coffee. Know your presence and support is received with so much gratitude.